
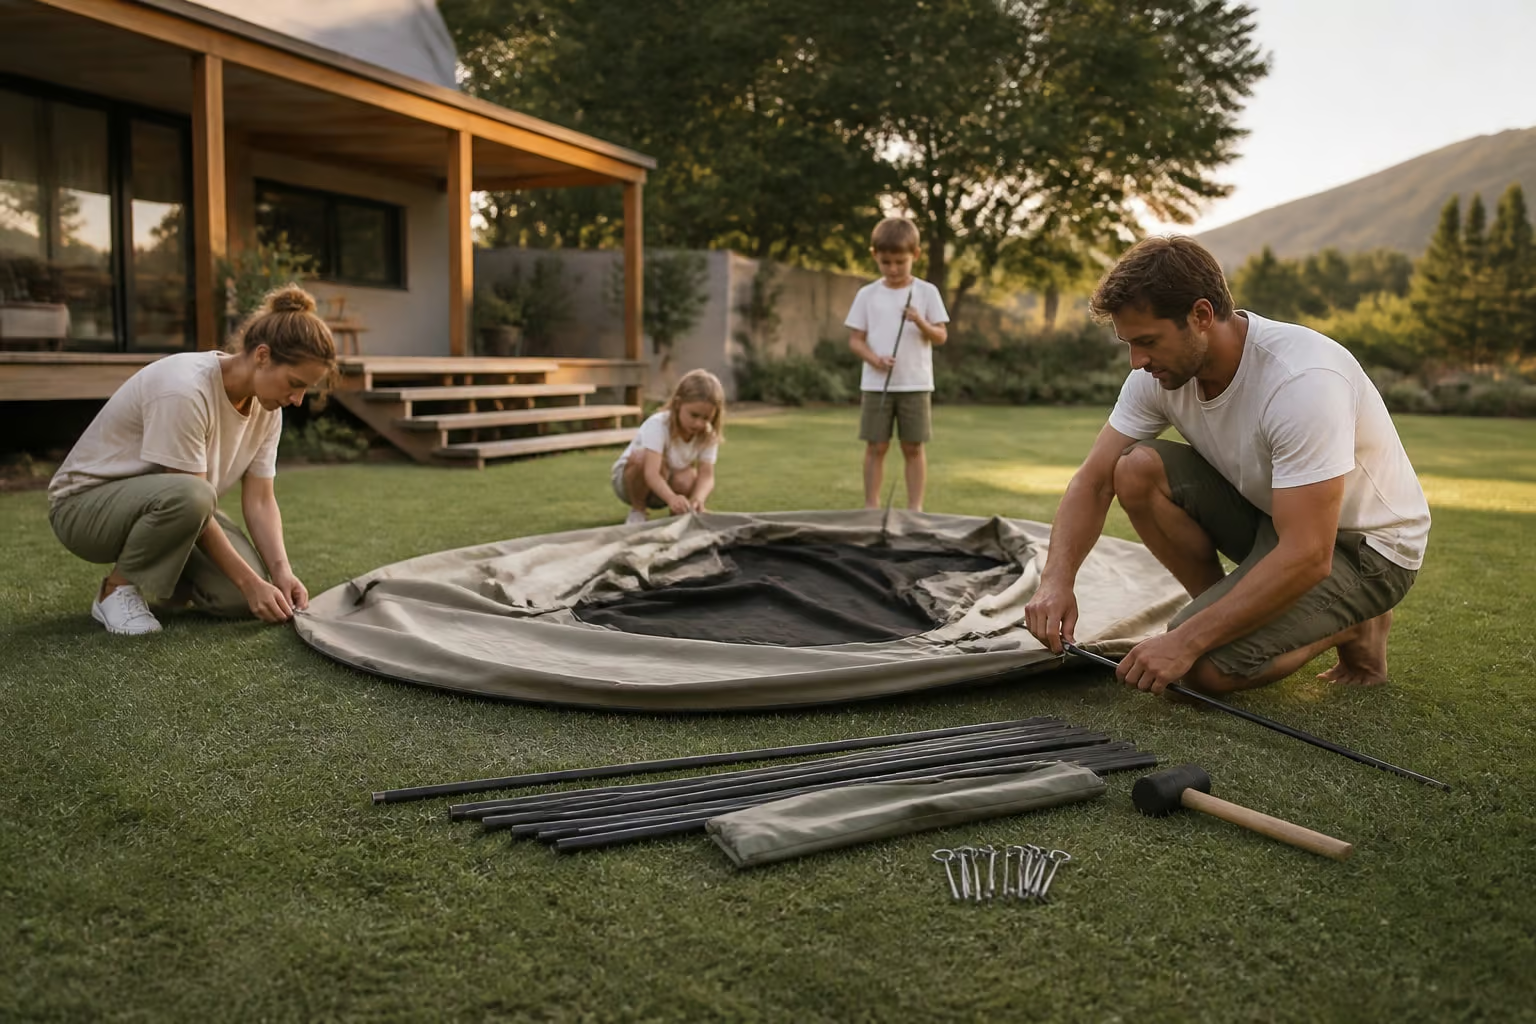
Pitched tents are tents that have been fully set up and secured with poles, pegs and guy lines, and the best place to learn how is your own backyard. A practice run at home lets you check that every part is in the bag, learn the order of assembly, and fix problems before you're standing in a drizzle at a campsite. The steps below cover site choice, groundsheet, poles, flysheet, pegging and a final weatherproofing check.
Gather everything on the list below before you unpack the tent, because a missing part is much easier to solve in the garden than on a remote farm campsite.
Read the manufacturer's setup sheet first. The National Park Service says to follow the tent manufacturer’s setup instructions, since pole layouts differ between dome, cabin and canvas bell designs.
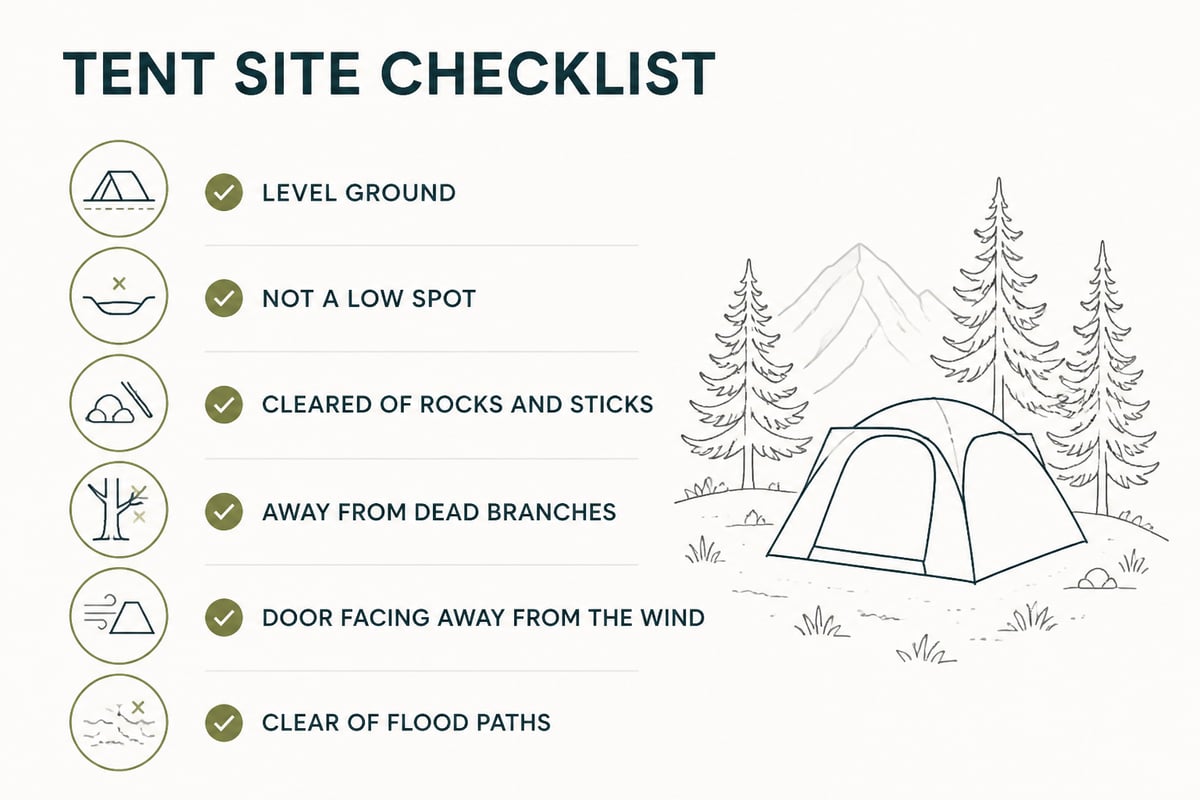
The right spot is level, slightly raised, and free of anything sharp. The National Park Service recommends picking ground that is level and not a low spot, then clearing sticks, rocks, pinecones and other debris before you lay anything down.
In the backyard, that means avoiding the spot where your sprinkler pools water. On a real trip, the same principle protects you in a Highveld summer thunderstorm, when water can run across a flat patch of veld in minutes. Walk the site and look up as well as down. The NPS also advises avoiding hazards such as flash-flood areas, lightning exposure, cliffs, and dead trees or branches.
Check which way the wind blows before you decide on the door position. Point the narrowest, strongest end of the tent into the prevailing wind, and keep the door on the sheltered side. The MEC guide to choosing a tent site covers drainage, wind protection and anchoring in more detail.
Spread the groundsheet flat first, because it protects the tent floor from abrasion and moisture rising from the soil. Smooth out wrinkles with your hands, since ridges create pressure points and collect water.
If your tent has a separate footprint, make sure it sits fully inside the tent's edges. A footprint that sticks out past the tent walls catches rain and channels it under the floor, which is a common cause of a soggy morning. Fold the edges under if needed.
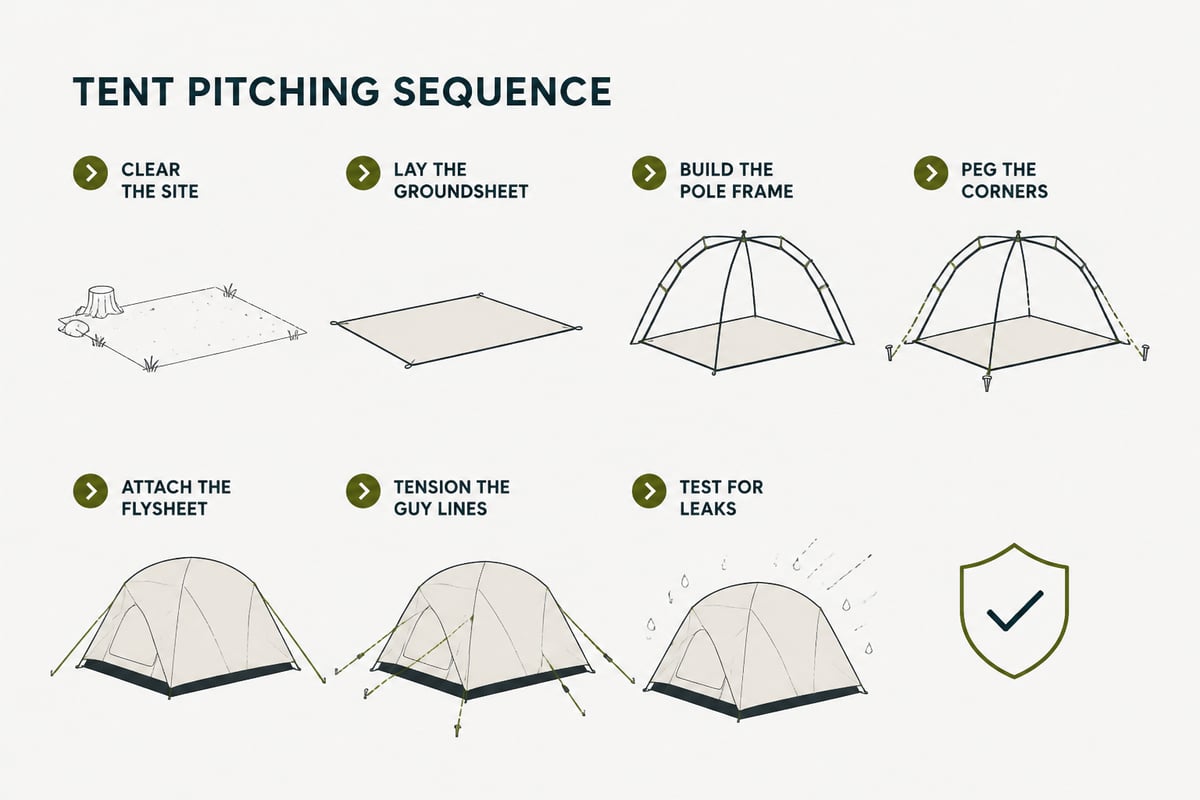
Position the tent so the door faces the direction you planned in Step 1. Stake the groundsheet corners with one peg each to stop it shifting while you work. Wind can catch a loose sheet and drag it across the lawn.
Build the frame by joining each pole section fully, then feeding or clipping the poles in the order the instructions show. Most family dome tents use two or three crossing poles, while canvas cabin tents often use a rigid frame with upright and ridge poles.
Work through it in this order:
Never force a pole. If it resists, a section is probably misaligned or the fabric has snagged on a seam. Forcing it bends the aluminium or splinters fibreglass, and a damaged pole is a weak point in a gust.
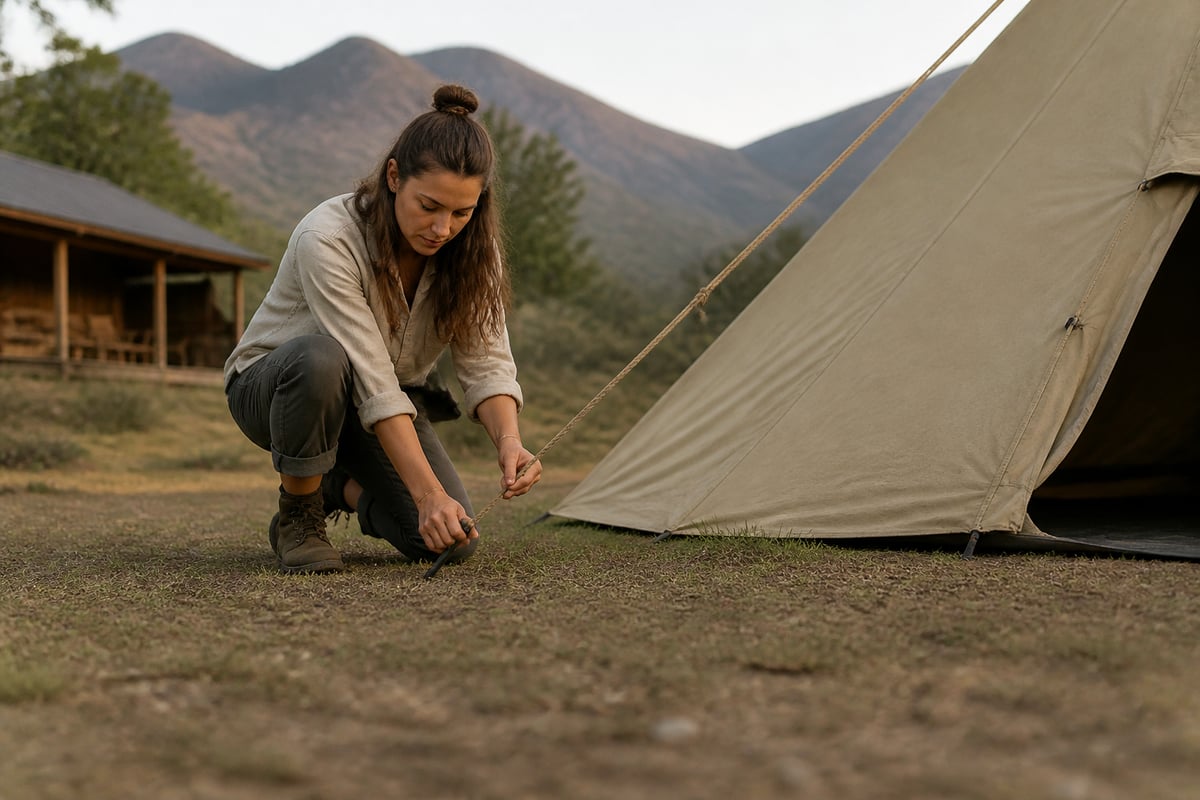
Peg each corner at roughly 45 degrees, angled away from the tent, so the peg resists the pull of the fabric instead of sliding out. Drive them in with the mallet until only the hook sticks out.
Pull each corner taut before you peg it, working in a diagonal pattern: front left, back right, front right, back left. This spreads tension evenly and keeps the floor square. A floor that looks like a parallelogram usually means one corner was pegged too early.
In sandy ground, such as parts of the Kruger approach roads or coastal sites, standard pegs pull out easily. Use longer pegs, bury them deeper, or tie off to a buried bag of sand or a heavy object. In hard, dry Highveld clay, pre-loosen the hole with a screwdriver before hammering to avoid bending the peg.
The flysheet is the waterproof outer layer, and fitting it correctly is the single biggest factor in staying dry. Drape it over the frame with the door panels lined up over the tent doors, and check that the seams sit on the outside.
Clip or hook the flysheet to each corner, then tension the straps until the fabric is firm without warping the frame. The flysheet should not touch the inner tent anywhere. Where the two layers touch, water wicks through by capillary action and drips onto your bedding.
Heavy-duty tent hooks and metal fasteners help at the attachment points when a design relies on loops or rings. Ejenti Outdoor stocks heavy duty tent hooks and metal fasteners in J hook, S hook, D ring and triangle styles, which suit tents, tarpaulins and shade nets and are simple to fit and remove.
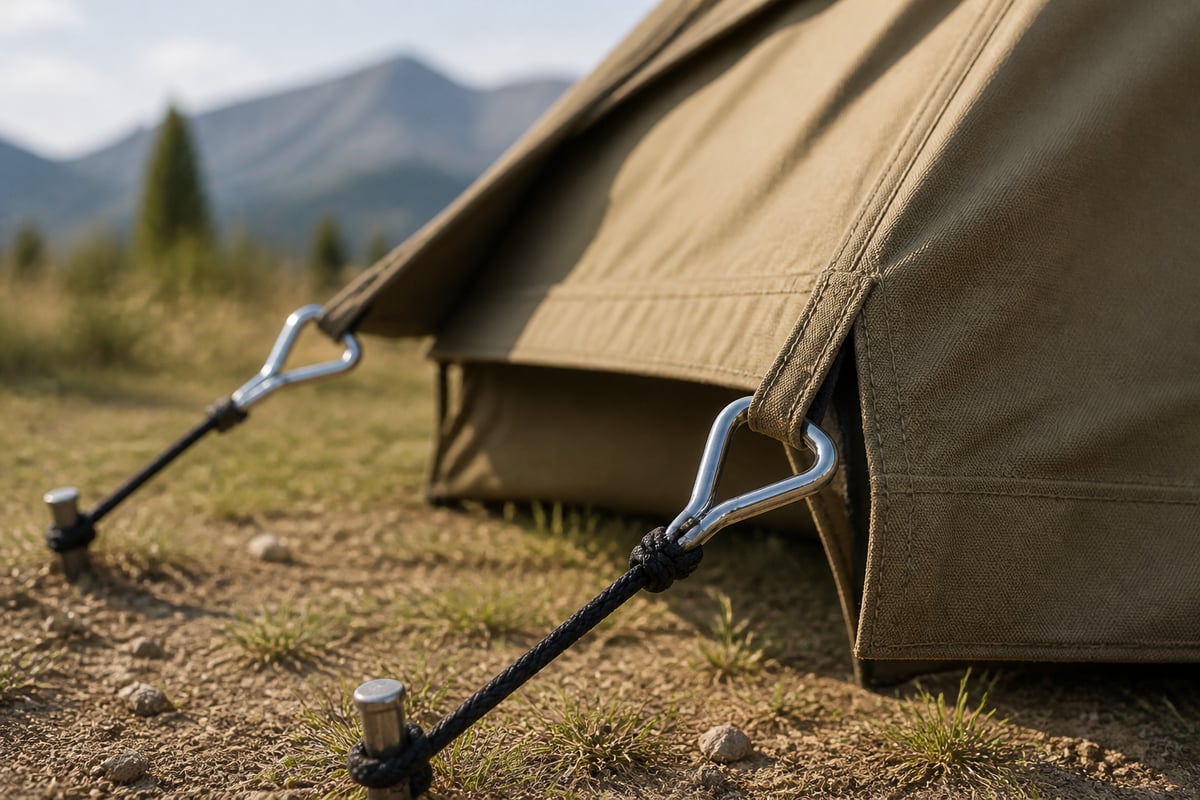
Guy lines turn a standing tent into one that handles wind, and they should run away from the tent at the same angle as the pole they support. Attach each line to its anchor point on the flysheet, extend it outward in a straight line from the seam, and peg it about as far from the tent as the attachment point is high.
Adjust the tensioners until the fabric is taut with no flapping. Check that lines don't cross walkways, because a guy line at ankle height catches children and adults alike after dark. A bright reflective cord or a small flag on each line prevents trips.
Tension changes through the day. Canvas relaxes when it dries and tightens when it gets damp, while synthetic fabrics slacken as they warm. Re-check lines in the morning and again before bed.
Test your pitched tent by checking every seam, zip and gap before the weather does it for you. Stand inside and look for light leaking through the fabric or seams, since light usually means water can get in too.
Run through this short checklist:
For a stronger test, spray the tent with a garden hose for several minutes, working from the top down, then check the inside for drips. Canvas needs a different approach: new canvas is usually seasoned by wetting it so the fibres swell and close the tiny gaps in the weave, which is why a small amount of initial dampness on a first soak is normal. Follow the care notes that come with your tent.
Ventilation matters as much as waterproofing. A sealed tent fills with condensation overnight. Keep vents open and leave the door mesh unzipped on warm nights.
Pack the tent in reverse order, and make sure everything is completely dry first, because packing damp canvas or nylon causes mildew within days. If you have to pack it wet at the end of a trip, pitch it again at home as soon as you can and let it air fully.
Shake out dirt, brush off grass, and wipe the groundsheet underside. Remove pegs cleanly and count them. Fold the tent loosely along different lines each time, since repeated creases in the same spot wear the coating. Store it in a dry, ventilated place, away from direct sun, which breaks down fabric over the seasons.
Fire safety applies at the pitch as well. The CDC warns never to use a portable gas camp stove indoors and never to burn charcoal indoors, because both can produce carbon monoxide. Keep stoves and charcoal out of closed tents, even in cold weather.
The fabric decides how long a pitched tent lasts and how it behaves in the rain. Thin polyester dome tents pitch fast and pack small, but UV and repeated wetting wear them down within a few seasons. Heavy-duty canvas and ripstop fabrics, particularly those treated to be waterproof and UV resistant, are better suited to strong sun and summer storms and tend to last longer.
Ejenti Outdoor is a South African company that specializes in durable tents, gazebos and outdoor solutions, and has completed more than 400 custom builds. If your family needs a particular size, door layout or frame, the product pages and contact page are the places to ask about options. Keep in mind that this kind of shelter is built for car camping and base camps, not for carrying on your back.
The three common groupings are dome tents, tunnel tents and cabin tents. Dome tents use crossing poles and stand on their own, tunnel tents use parallel hoops and need pegging to hold shape, and cabin tents have near-vertical walls and more headroom, which suits families.
Practise at home first, clear the ground of sharp objects, and peg the corners before raising the frame. Keep the door away from the wind, tension the guy lines evenly, and keep the flysheet clear of the inner tent so water doesn't wick through.
Budget tents are widely available, but the cheapest options usually use thin fabric and short-lived poles. If you camp many weekends a year, a durable canvas or ripstop tent costs more upfront and tends to cost less per season over time.
Before your next trip, pick a dry weekend, pitch your tent in the garden, and time yourself from bag to finished pitch so you know exactly what's missing or worn. If you need replacement fasteners, check out the Heavy Duty Tent Hooks & Metal Fasteners for secure tie-down points. When it's time for a shelter that stays dry and lasts several seasons, browse the canvas tents, gazebos and custom builds at Ejenti Outdoor and shop now for gear made in Pretoria for South African conditions.