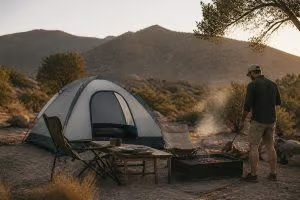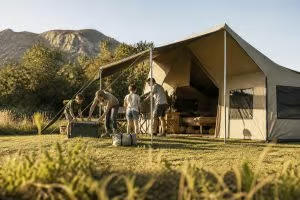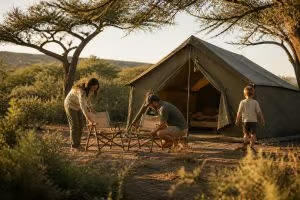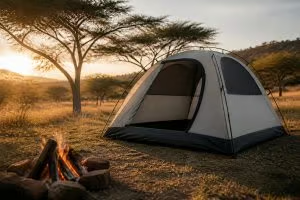

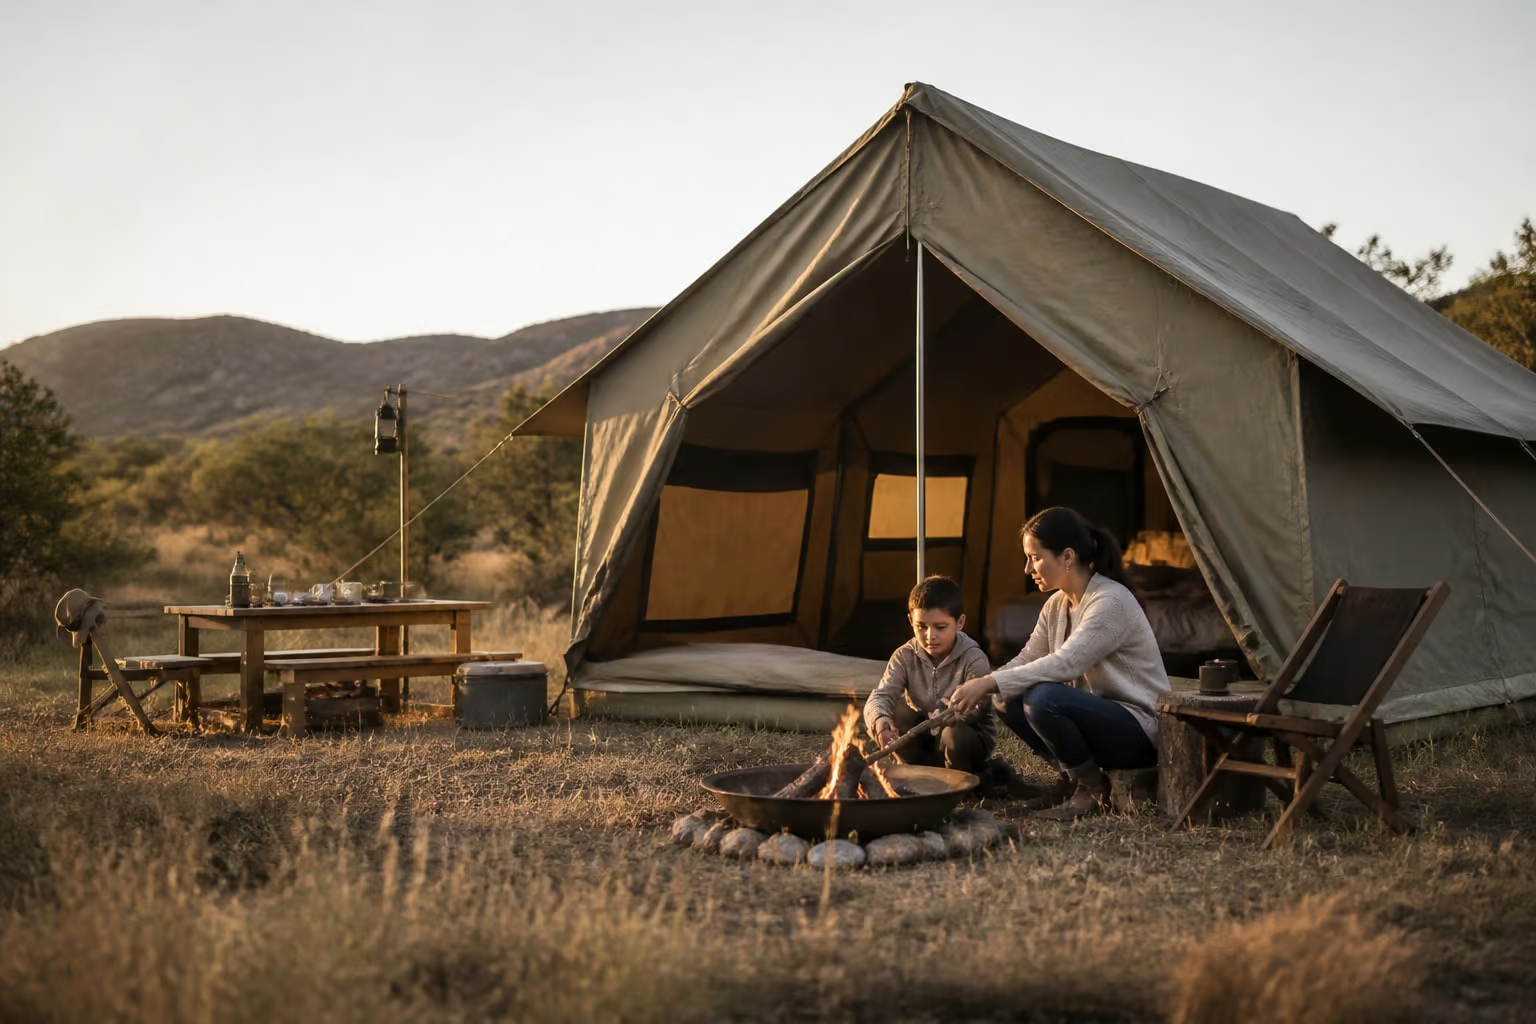
If you are searching for photos of tents, you will find them in three main places: stock photo libraries, social and inspiration boards, and photographs taken by the tent makers themselves. Which source suits you depends on whether you need images for a website, ideas for a purchase, or proof of how a shelter performs in real conditions.
This guide walks through where tent images come from, what the different tent types look like on camera, how to read a photo for useful information, and how to take or commission your own. It is written for South African campers, safari operators and event organisers who care about shelter that stays dry and lasts for seasons.
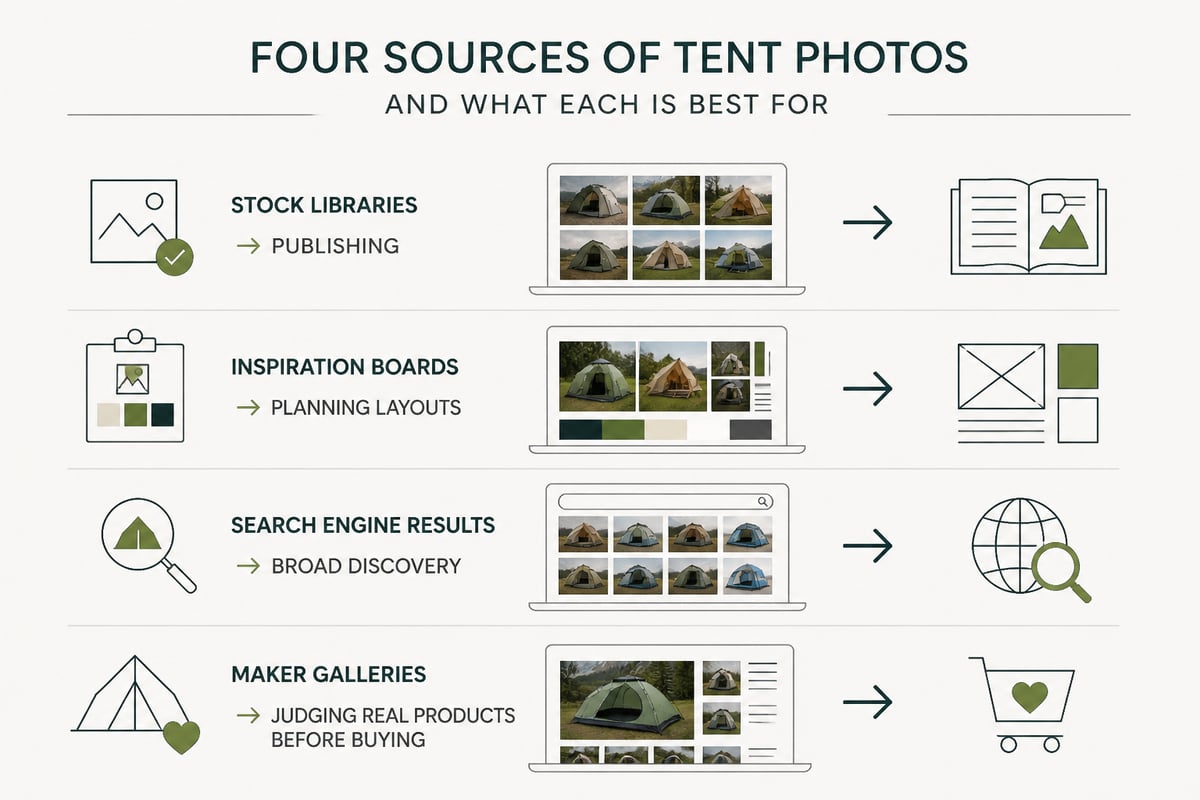
You can find good tent images in stock libraries, Pinterest-style inspiration boards, search engine image results, and brand galleries, and each serves a different purpose.
Stock libraries such as Adobe Stock, Shutterstock and Getty Images hold large collections of tent images. Their search tools let you filter by orientation, colour, people in frame and licence type. They suit anyone who needs images to publish.
Inspiration boards are better for planning. Searching for "canvas bell tent", "safari tent" or "marquee wedding" on a board-style platform shows you styling, layouts and how others have set up camp. The catch is that many pins link back to unclear sources, so treat them as ideas rather than images you can reuse.
Search engine image results give the widest net. Use the tools menu to filter by usage rights if you plan to publish anything.
Brand and maker galleries are the most useful when you are buying. Photos from a manufacturer show real products, real stitching and real fabric, not a staged scene that has little to do with what you will receive.
Tent photography clusters around a handful of shapes, and recognising them helps you search more precisely and judge what a photo is actually showing.
Searching the specific name returns far better results than the generic phrase. A search for "canvas dome tent bushveld" returns a very different set of images than "tent", and it usually matches your situation more closely.
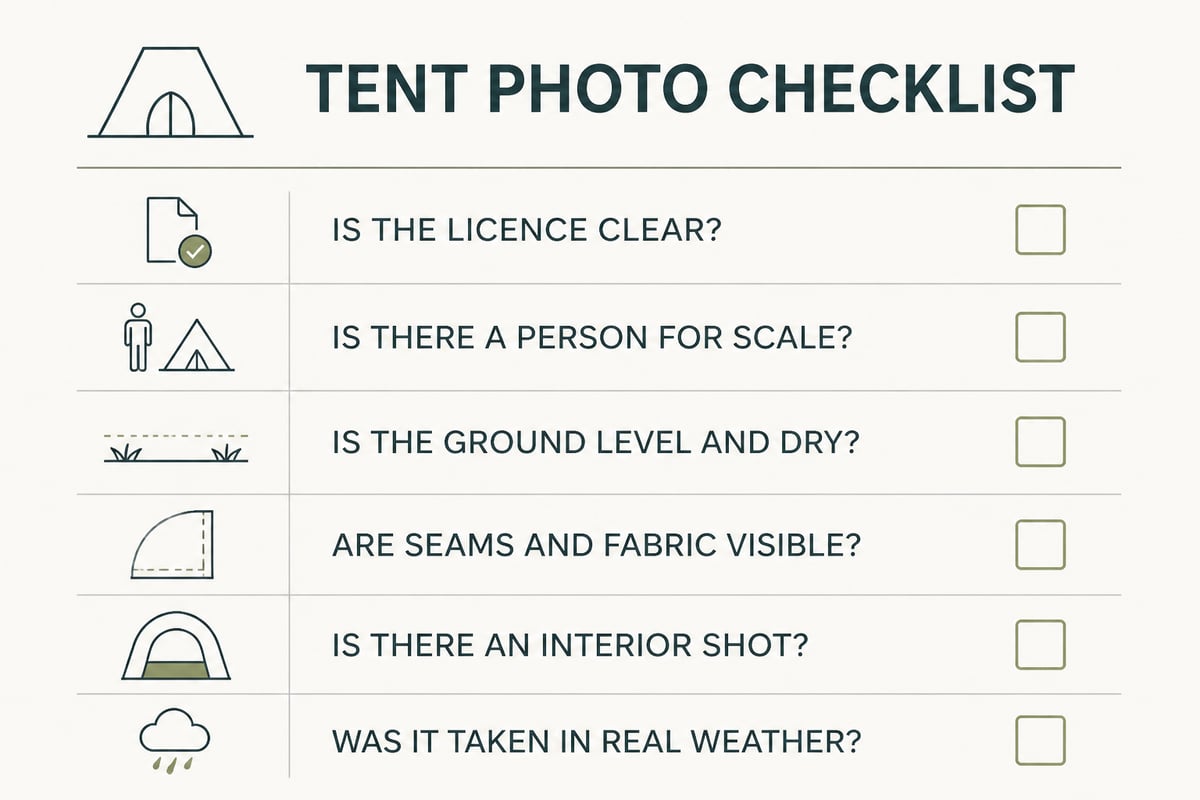
A tent photo tells you a surprising amount about fabric, build and pitching if you know what to look at.
That last point matters in the real world as well as the photo. The National Park Service recommends pitching a tent on level ground that is not in a low spot, because low areas can become wet in rain. When you see a lifestyle photo with a tent in a dip beside a stream, it looks scenic but is a poor model to copy.
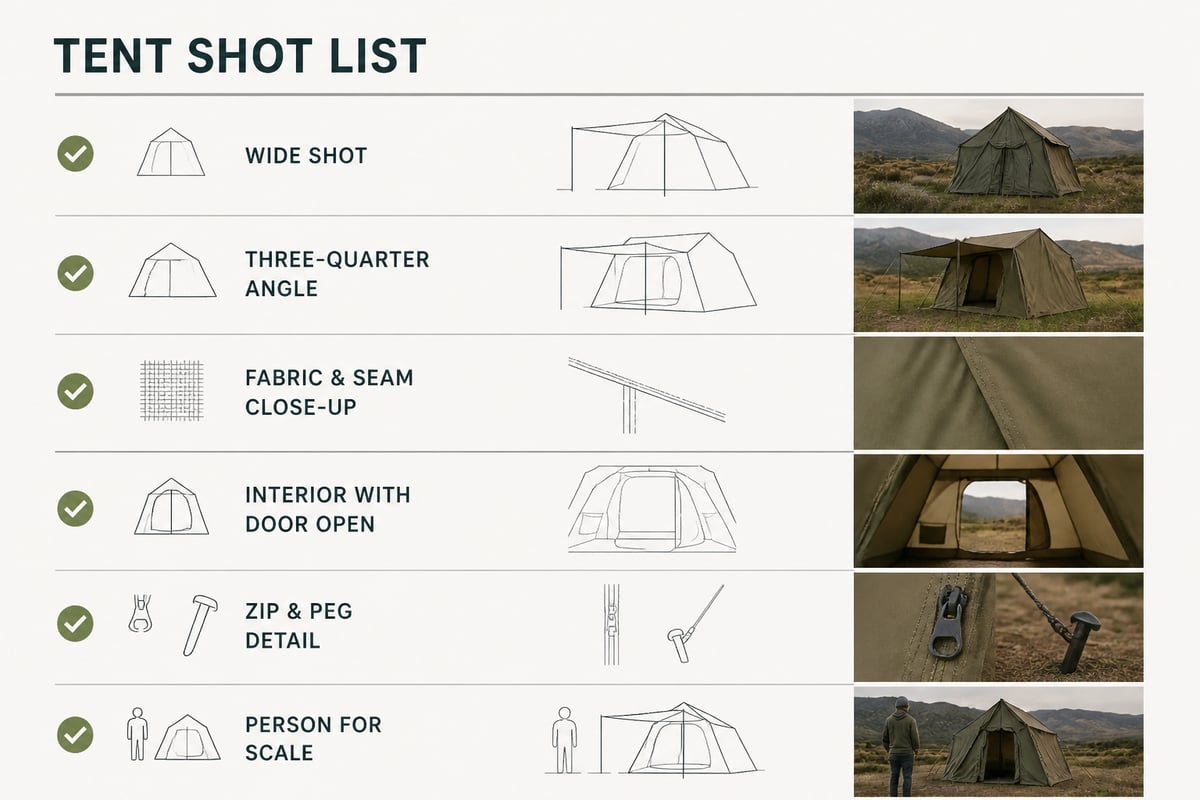
Be wary of images that show only a tent from far away at sunset. They sell a mood, not a product. Ask for interior shots, close-ups of the fabric and a photo with a person for scale.
Staged tent photos usually give themselves away through perfect lighting, spotless fabric, and a setting that no one would actually camp in.
Signs of a staged image:
Signs of a realistic image:
Realistic photos are more useful to buyers because they show how a shelter holds up after use. If a seller offers customer photos from real trips, those are worth more than any studio shot.
Before you publish any tent photo, you need to confirm the licence, because owning access to an image is not the same as having the right to use it.
| Licence type | What it usually allows | Watch out for |
|---|---|---|
| Royalty-free | Repeated use after a one-time payment | Often limits resale or use on merchandise |
| Rights-managed | Use for a defined purpose, region and period | Costs rise with scope and duration |
| Editorial | News and commentary only | Not allowed for ads or product promotion |
| Creative Commons | Varies by version | Some require credit, some forbid commercial use |
| Own photos | Full control | Model and property releases may still apply |
A few practical rules apply. Never lift an image from a search result or board and place it on a business website. Keep a record of where each image came from and its licence terms. If people are clearly identifiable in a photo, check whether a release is attached. For commercial work such as a safari lodge website or an event brochure, choose royalty-free or commission your own photography.
Taking your own tent photos is simple if you plan the shoot around light, angle and context rather than gear.
Shoot around sunrise or sunset, when light is warm and shadows are soft. Midday sun flattens canvas and creates harsh highlights. Overcast days are fine for close-ups of fabric because the light is even.
A photo shows every flaw. Pitch on level ground, tension all guy lines, and smooth out wall panels. Clear away rubbish, loose bags and tangled ropes before you start.
For a useful record, take:
If you are documenting a shelter for a business, shoot it in use: a family at a camp table, an event set-up with seating, or a safari camp with vehicles nearby. Context sells durability better than an empty tent on grass.
Tent photos are a quick way to spot good and bad camp practice, because the placement of the tent in the frame often reveals the risk.
The National Park Service advises checking for hazards such as flash flooding, lightning, wind and dead trees when choosing a campsite. Apply that to what you see. A tent pitched under a dead limb, in a dry riverbed or on an exposed ridge may make a dramatic photo, but it is not one to imitate.
Fire safety shows up in photos too. The U.S. Forest Service says tents should be kept far enough from campfires and fuel-burning appliances to prevent ignition from sparks, flames and heat, and that you should never use a flame or heater inside a tent. Many staged images place a fire pit or lantern right at the tent door. In the field, give it generous distance.
For a deeper checklist, check the Forest Service's camping guidance before you head out.
You can use tent photos as a buying filter by comparing what each image shows against the conditions you will actually camp in.
Start with your use case. A family heading to a SANParks site needs good ventilation and strong rain protection. An event organiser needs wide spans and stable anchoring. A safari operator needs shelter that survives sun, dust and repeated pitching.
Then match features to images:
A single example in this category is the Premium Heavy-Duty Canvas Dome Tent from Ejenti Outdoor, a South African maker based in Pretoria. It is built for the harsh African climate and is a good model of what to look for in a tent listing: clear photos, real conditions and honest detail.
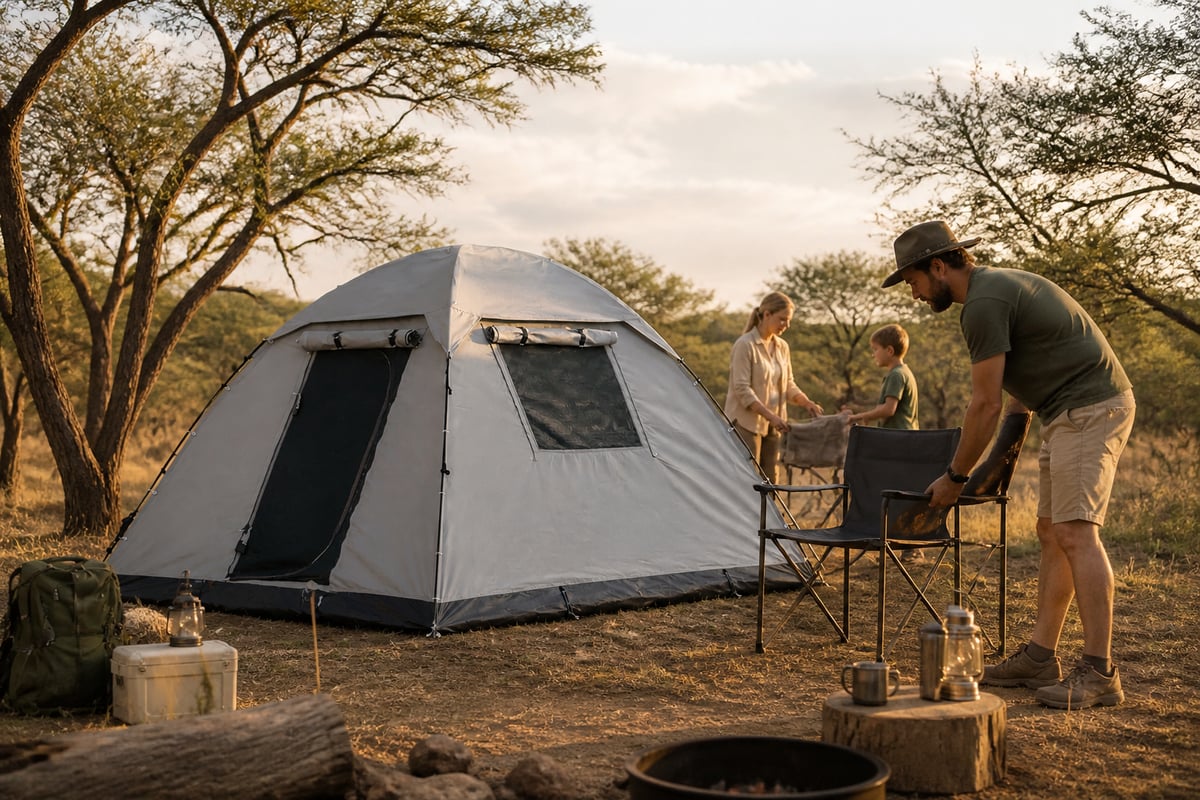
When a product page offers few photos, ask for more before you buy. Reputable makers will share close-ups of fabric, seams and hardware, and some build to your specification. Ejenti Outdoor, for example, does custom builds made to your exact requirements, so photos of finished work are a fair thing to request.
If you are publishing tent pictures on a business site, a few technical choices decide whether they help or hurt your pages.
Descriptive alt text helps people using screen readers and gives search engines context about the image. It also gives you a chance to use natural variations of the topic without forcing anything.
Event organisers and safari operators should treat tent photos as evidence of scale, stability and finish, because their shelters carry guests and gear, not just a couple of sleeping bags.
For large shelters, ask for photos that show:
Sizes, materials and lead times differ by build, so confirm specifics on the maker's product pages or by contacting them directly rather than relying on a photo caption.
The most common mistakes come from treating a photo as proof of something it cannot show.
A simple habit fixes most of these: pair every attractive image with a question about the conditions it was taken in.
Only if the licence says so. Free does not always mean free for commercial use, so read the terms and keep a record of the source.
Enough to cover exterior, interior, fabric close-up, hardware and scale. Six to eight well-chosen images is a sensible target for most listings.
Only with the customer's permission. Ask in writing and credit them if they wish.
The hour after sunrise and the hour before sunset give warm, soft light that shows canvas texture without harsh glare.
Your next step is simple: pick one tent you are considering, gather six photos of it (wide, interior, fabric, seams, hardware and a person for scale) and check each against the conditions you will camp or host in. If you want a shelter built for South African weather, Ejenti Outdoor makes its own heavy-duty canvas and ripstop products in Pretoria, including the Premium Heavy-Duty Canvas Dome Tent, and you can browse the range and shop now to find a tent that stays dry and lasts for seasons.