
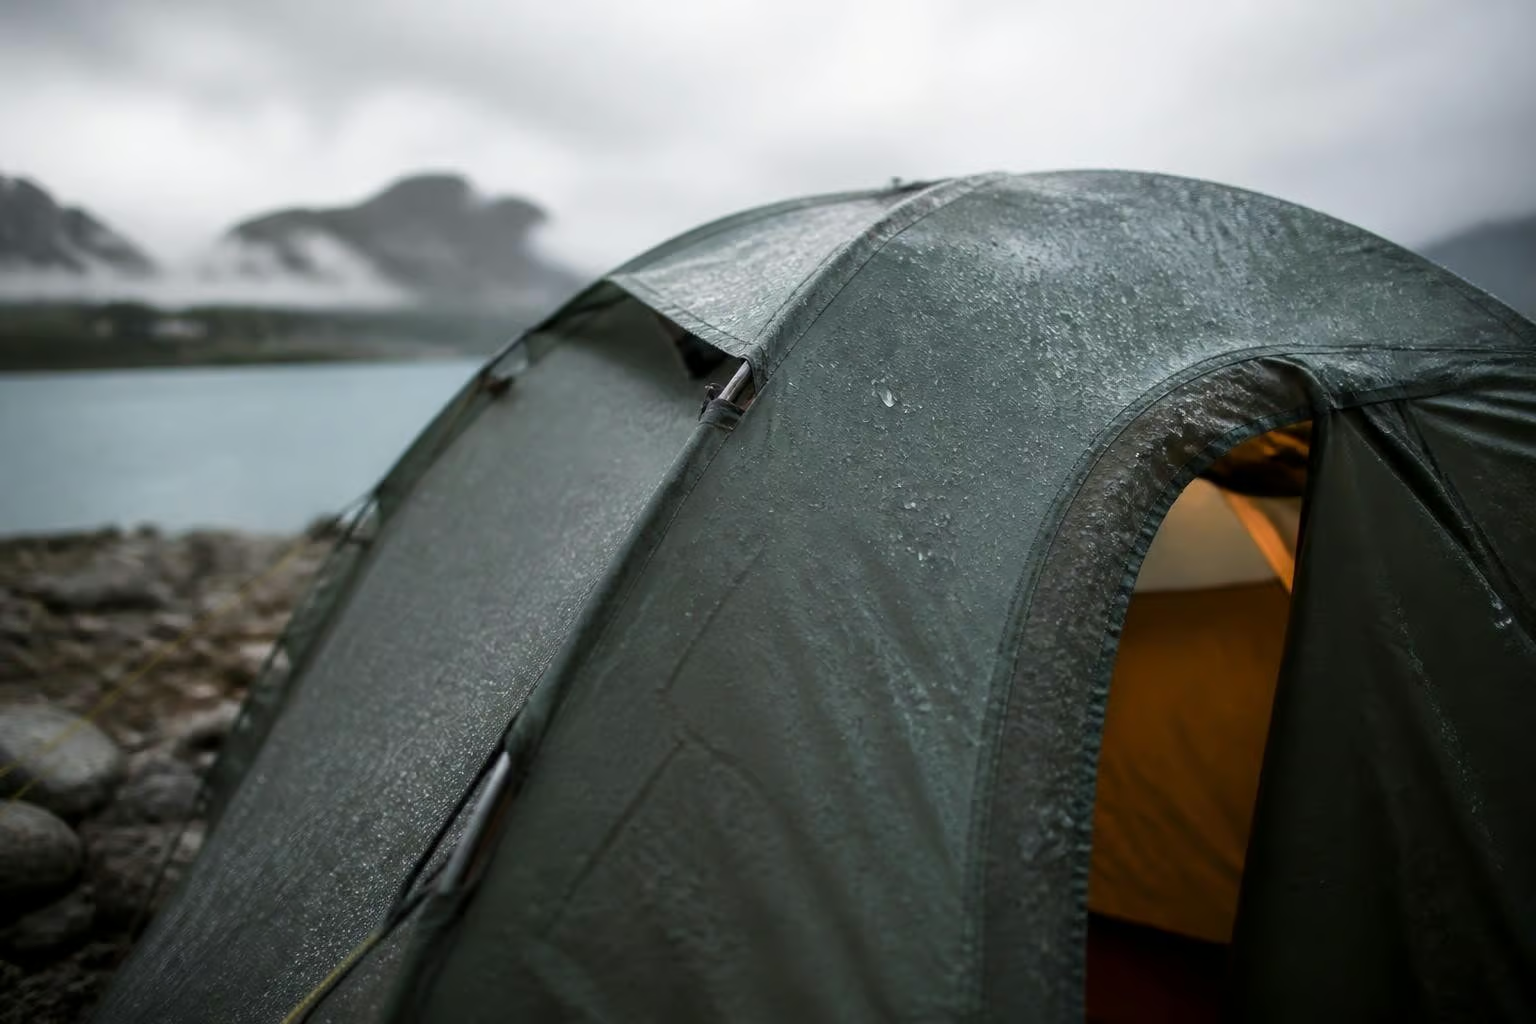
When you're planning your next outdoor adventure in South Africa, one decision matters more than almost any other: choosing the right shelter. The difference between a dry, comfortable night and a miserable, soggy experience often comes down to whether you buy waterproof tent that can actually handle the elements. From sudden highveld thunderstorms to coastal drizzle, understanding what makes a tent truly waterproof will transform your camping experience and protect your investment for years to come.
Not all waterproof claims are created equal. When you buy waterproof tent, you'll encounter hydrostatic head (HH) ratings measured in millimeters. This number tells you how much water pressure the fabric can withstand before it starts to leak.
Basic waterproof ratings breakdown:
The hydrostatic head test measures how tall a column of water can sit on the fabric before penetration occurs. For reference, a person sitting on wet fabric creates approximately 2,000mm of pressure, while kneeling generates around 7,000mm.
Your tent floor faces different challenges than the rainfly. Ground moisture, pooling water, and body weight create constant pressure that demands higher waterproofing specs.
| Tent Component | Minimum HH Rating | Recommended HH Rating | Why It Matters |
|---|---|---|---|
| Rainfly | 1,500mm | 3,000mm+ | Handles direct rainfall and wind-driven rain |
| Floor/Bathtub | 3,000mm | 5,000mm+ | Resists ground moisture and sitting/kneeling pressure |
| Tent Body | N/A (breathable) | N/A (breathable) | Usually mesh or breathable fabric with no waterproof coating |
When you buy waterproof tent from reputable manufacturers, always check both fly and floor ratings separately. Many budget tents advertise impressive fly ratings while using thinner, less waterproof floor material.
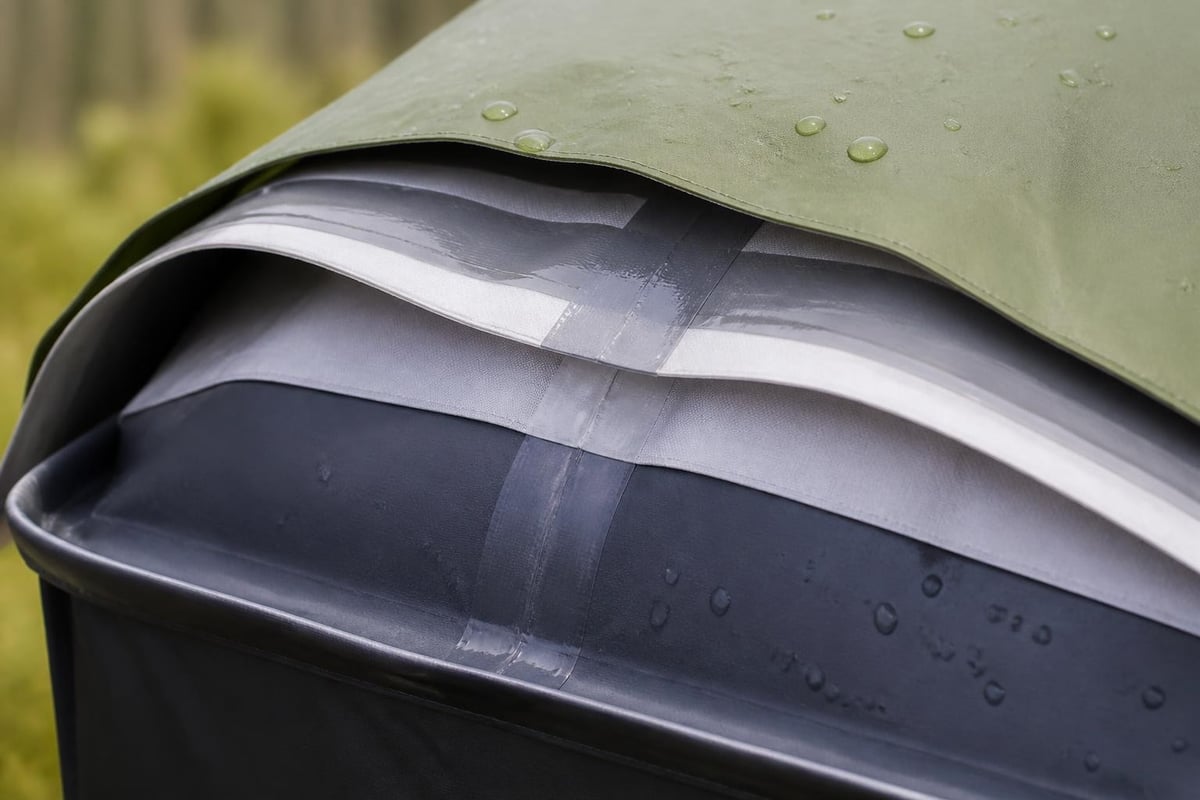
The fabric your tent uses determines not just waterproofing but also durability, weight, and packability. Modern tent fabrics have evolved significantly, giving buyers more options than ever.
Polyester tents resist UV degradation better than nylon and hold up well in prolonged sun exposure. They maintain waterproofing longer but typically weigh slightly more. The fabric stretches less when wet, maintaining better tension in rain.
Nylon fabrics offer excellent strength-to-weight ratios, making them popular for backpacking. They do absorb some moisture and stretch when wet, which can cause sagging. Modern silicone-impregnated nylon (silnylon) addresses many traditional weaknesses.
Canvas remains the gold standard for semi-permanent camping, safari setups, and family base camps. Heavy-duty ripstop canvas breathes naturally while providing superior waterproofing once properly treated. The canvas tent options from Ejenti Outdoor showcase how traditional materials still outperform synthetics for certain applications.
When you buy waterproof tent, the coating matters as much as the base fabric. Coating chemistry determines longevity and performance.
Most modern synthetic tents use a combination approach: silicone on the outside for abrasion resistance and UV protection, with PU on the inside for easy seam taping.
A tent's waterproof rating is just the starting point. Real-world performance depends on design execution and construction quality.
Even the most waterproof fabric fails if seams aren't properly sealed. Quality tents feature factory-taped seams where waterproof tape covers every stitch hole. When you buy waterproof tent, examine seam quality closely.
Seam types ranked by waterproofing:
Check that all seams on the fly and floor are taped. Untaped seams on the tent body matter less since that component doesn't face direct rain.
The bathtub floor extends waterproof material 6-12 inches up the tent walls. This design prevents water from seeping in where the floor meets the walls, even if you're camping on saturated ground or in puddles.
Quality bathtub floors feature:
Condensation inside your tent can soak you just as thoroughly as rain. When you buy waterproof tent, adequate ventilation is non-negotiable.
Look for these ventilation features:
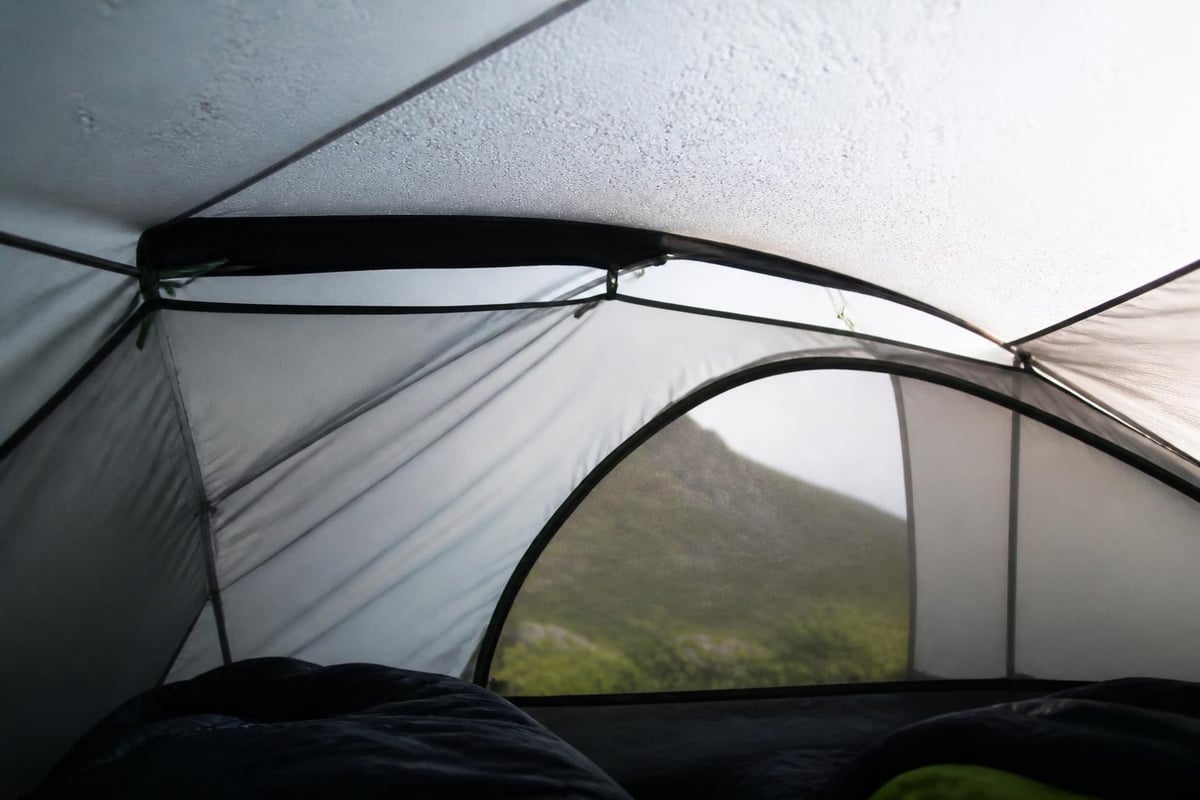
Even the best waterproof tent fails if you pitch it incorrectly. Proper setup makes the difference between dry and drenched.
Never pitch your tent in a depression, even if the ground looks dry. Water flows downhill and pools in low spots during rain. Walk the area and identify natural drainage patterns.
Choose sites that are:
The National Park Service guidance on campsite selection emphasizes reading the landscape for water flow patterns, especially critical in areas with afternoon thunderstorms.
A saggy rainfly collects water and touches the inner tent, transferring moisture inside. Proper tension is essential.
Tensioning checklist:
When you buy waterproof tent with quality guy line systems, use them. Those extra cords aren't optional-they're essential for maintaining fly tension in wind and rain.
A footprint (ground cloth) serves multiple purposes beyond protecting your tent floor from abrasion. It creates a moisture barrier between ground and tent, and properly sized footprints channel water away from the tent perimeter.
Footprint sizing rules:
New tents arrive with factory waterproofing, but that protection doesn't last forever. When you buy waterproof tent as an investment, maintenance preserves that investment.
The Durable Water Repellent (DWR) coating makes water bead up and roll off instead of soaking in. UV exposure and dirt gradually degrade DWR, reducing waterproof performance.
Signs your DWR needs refreshing:
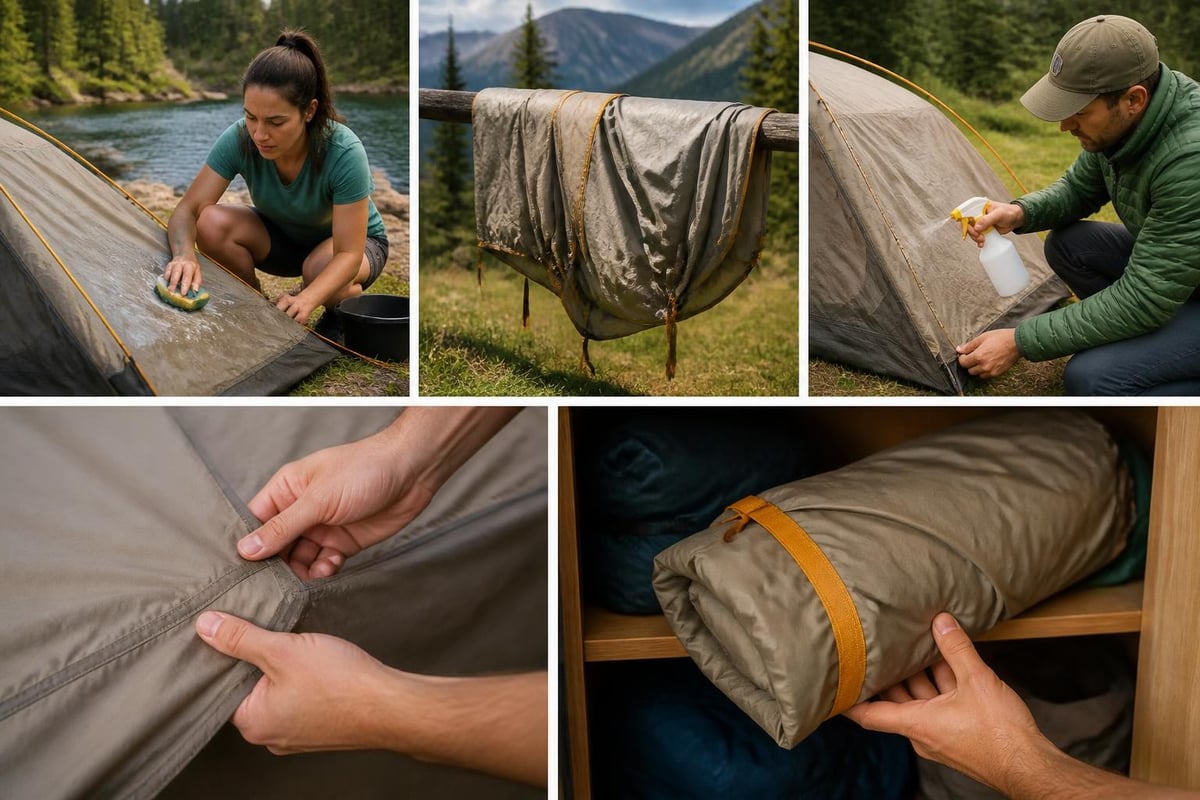
Proper tent maintenance includes periodic DWR restoration through washing and heat-activated reapplication of water repellent treatments.
| Maintenance Task | Frequency | Why It Matters |
|---|---|---|
| Clean and dry after trips | Every use | Prevents mold, mildew, and coating degradation |
| DWR reapplication | Annually or as needed | Restores water-shedding capability |
| Seam sealer check | Before each season | Prevents leaks from seam tape failure |
| UV damage inspection | Semi-annually | Identifies fabric degradation early |
| Proper storage | Between uses | Extends fabric and coating life |
Improper storage destroys waterproofing faster than years of use. Moisture trapped in storage creates mold that permanently damages waterproof coatings.
Storage rules:
For South African campers facing various storage challenges, protecting your investment when you buy waterproof tent means creating proper storage conditions year-round.
Price varies dramatically in waterproof tents. Understanding what drives cost helps you buy waterproof tent that matches your needs without overpaying or underbuying.
Budget tents ($100-$300):
Mid-range tents ($300-$700):
Premium tents ($700+):
Consumer testing organizations evaluate tents across these price brackets, often finding that mid-range options offer the best performance-per-dollar for recreational users.
South African climates range from arid Karoo nights to humid coastal weather and highland storms. When you buy waterproof tent for local conditions, consider regional factors.
For highveld camping:
For coastal setups:
For Lowveld and bushveld:
The materials used in quality outdoor gear reflect these demands. For example, the waterproof ripstop canvas used in Ejenti Outdoor’s product range addresses multiple South African camping challenges simultaneously through material selection and construction techniques.
No tent is an island. Supporting gear and accessories significantly improve waterproof performance in real-world conditions.
Tarps and extra coverage:
Setting a tarp over your tent's rainfly creates a double-roof system that keeps the actual tent dry even in sustained rain. The air gap provides insulation and the tarp takes the weather beating.
Quality stakes and anchors:
Standard tent stakes fail in soft or rocky ground. Upgrading to appropriate stakes for your soil type ensures your tent stays properly tensioned and positioned, maintaining waterproof integrity.
Repair kits:
Even when you buy waterproof tent from top manufacturers, field damage happens. Carrying repair tape, seam sealer, and spare guy lines lets you address problems before they become disasters.
For securing tarps, guy lines, and camping gear, reliable fastening systems matter. Quick-release mechanisms make adjustments easy even in poor weather, and the Quick Release Buckle Plastic for Straps offers a practical solution for creating adjustable tie-down systems on your camp setup.
Footprint or ground sheet:
Already mentioned for setup, but worth emphasizing. A proper footprint is one of the most cost-effective waterproofing upgrades available.
Awning poles and vestibule extensions:
Creating dry spaces outside your tent door keeps wet gear from entering your sleeping area. Extended vestibules provide cooking and storage space protected from rain.
Carpet or flooring:
For extended trips or semi-permanent camps, adding flooring inside improves comfort and creates an additional moisture barrier. Particularly valuable in canvas dome tents and safari setups.
The worst time to discover waterproofing problems is during a storm in the backcountry. Smart buyers test before they trek.
Pitch your new tent at home and conduct a thorough inspection. Check every seam, look for manufacturing defects, and ensure all components are present. This is when you can easily exchange a defective product.
Run a hose test:
Don't skip this step. Manufacturing defects happen, and you want to discover them while returns are simple.
Some tent materials (especially canvas) improve with use. Canvas tents actually need to get wet to achieve full waterproofing as fibers swell and self-seal. When you buy waterproof tent in canvas, expect the first rain exposure to reveal minor seepage that resolves after the fabric fully seasons.
Canvas break-in process:
You've researched materials, ratings, and features. Now to actually buy waterproof tent that fits your specific needs.
Before shopping, define your actual requirements:
Usage frequency:
Typical conditions:
Group size and space needs:
Transport method:
Purchase from retailers who understand outdoor gear and can answer technical questions. When shopping, ask:
Reputable outdoor outfitters and specialized manufacturers like Ejenti Outdoor provide detailed specifications and can explain exactly what you're getting.
Waterproofing defects may not appear immediately. Look for warranties that specifically cover waterproofing failures, not just manufacturing defects. Understand the difference:
Manufacturing defect: Improperly sealed seams, coating application errors
Normal wear: Gradual DWR degradation, UV damage over time
User damage: Tears, punctures, or damage from misuse
Good warranties cover the first category without question, may cover accelerated wear from defects, but won't cover damage you cause.
When you buy waterproof tent that matches your camping style and conditions, you're investing in years of dry, comfortable outdoor experiences. The right combination of materials, construction quality, and proper maintenance ensures your shelter performs when it matters most. Whether you're planning weekend escapes to the Drakensberg or extended bushveld adventures, Ejenti Outdoor offers durable, locally-manufactured outdoor solutions built specifically for South African conditions, backed by expert knowledge and quality materials designed to keep you protected season after season.