
Building a tent from scratch or assembling a pre-fabricated tent structure requires careful planning, proper materials, and an understanding of structural principles. Whether you're setting up a temporary event shelter, creating a permanent safari camp, or assembling a recreational camping tent, the tent build process follows fundamental engineering and construction principles that ensure safety, durability, and weather resistance. This guide walks through the essential components, planning considerations, and assembly techniques that make the difference between a shelter that performs reliably and one that fails in challenging conditions.
A successful tent build begins with understanding the structural components and how they work together. Every tent structure consists of three primary systems: the frame or support structure, the covering material, and the anchoring system.
The frame provides the skeleton that defines the tent's shape and distributes loads. Frame materials vary from lightweight aluminum poles in recreational tents to heavy-duty galvanized steel in commercial marquees. The choice of frame material directly impacts the tent's weight, portability, and load-bearing capacity.
Covering materials range from lightweight nylon and polyester to heavy-duty canvas and PVC fabrics. Each material offers different benefits in terms of waterproofing, breathability, UV resistance, and durability. When planning your tent build, matching the fabric specification to the intended use environment is critical.
Professional tent build projects require attention to load paths and stress distribution. Wind loads, snow accumulation, and even rain pooling create forces that the structure must handle safely. The IASS symposium paper on membrane structures provides detailed analysis of how geometry affects load distribution in lightweight shelters.
Key structural considerations include:
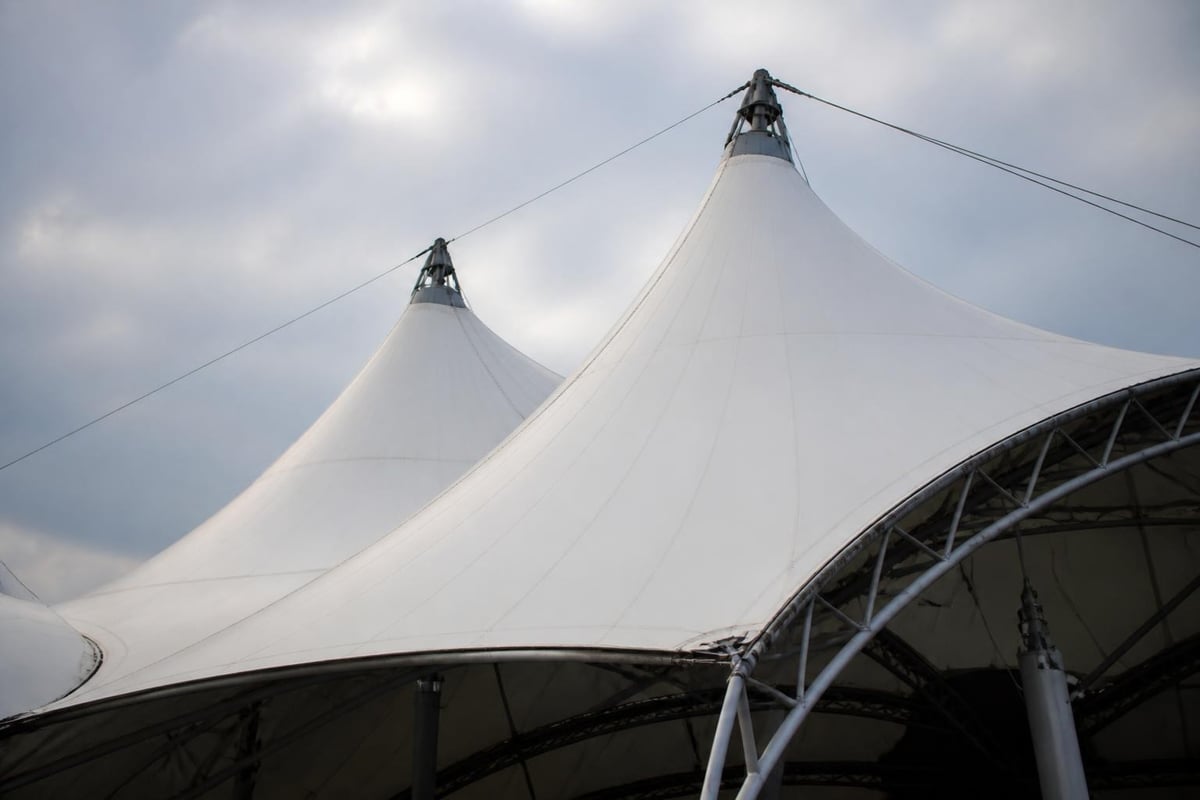
Effective tent build planning starts with defining the purpose, location, and duration of use. A weekend camping tent requires different planning than a semi-permanent event structure or safari accommodation.
Site assessment is the foundation of any outdoor tent build. Survey the ground conditions, drainage patterns, and exposure to wind and sun. Rocky soil may prevent proper stake placement, while low-lying areas risk flooding during rain. Understanding these factors before beginning assembly saves time and prevents problems.
| Planning Factor | Recreational Use | Commercial/Event Use | Permanent Installation |
|---|---|---|---|
| Foundation Type | Ground stakes | Weights or anchors | Concrete footings |
| Frame Material | Aluminum/fiberglass | Steel or heavy aluminum | Galvanized steel |
| Fabric Weight | 150-250 GSM | 300-450 GSM | 450+ GSM |
| Assembly Time | 30-60 minutes | 2-6 hours | 1-3 days |
Permitting requirements vary by location and tent size. Many municipalities require permits for temporary structures over certain dimensions. The City of Columbia tent application guidelines provide practical examples of anchoring calculations and safety requirements that apply broadly to tent build projects.
Choosing appropriate materials significantly impacts tent build success. South African outdoor conditions present unique challenges including intense UV exposure, sudden thunderstorms, and temperature extremes.
Canvas remains popular for safari and camping applications due to its breathability and natural insulation properties. Modern ripstop canvas combines traditional benefits with enhanced tear resistance. For applications requiring maximum waterproofing and low maintenance, PVC-coated fabrics offer superior performance in wet conditions.
Hardware selection deserves equal attention to fabric choice. Quality metal fasteners and connection points prevent the most common tent build failures. Using appropriately rated components ensures connections don't become weak points when the structure experiences stress.
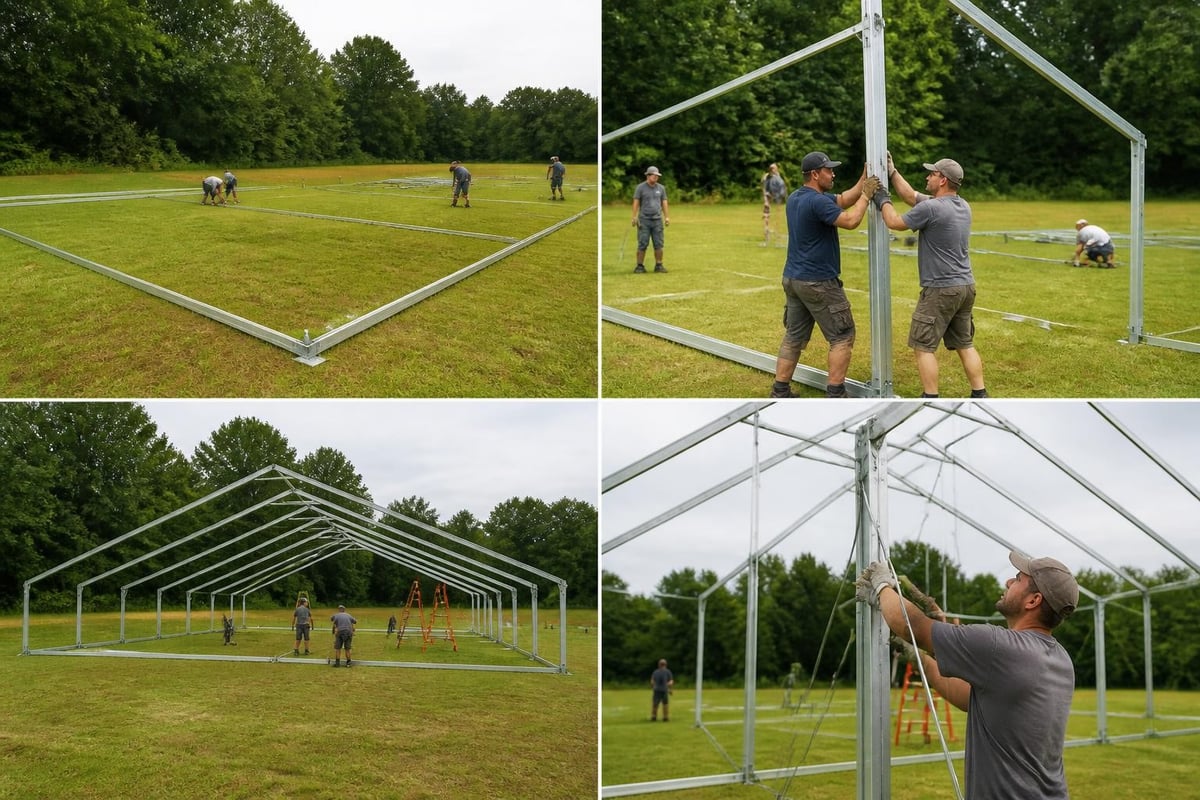
The frame assembly phase of any tent build establishes the foundation for everything that follows. Different tent types use different frame configurations, but fundamental assembly principles remain consistent.
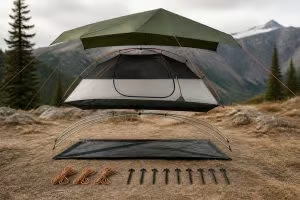
Start by laying out all frame components and hardware before beginning assembly. This allows you to verify that all parts are present and identify the sequence of assembly. Most quality tents include labeled poles or color-coded systems that simplify this process.
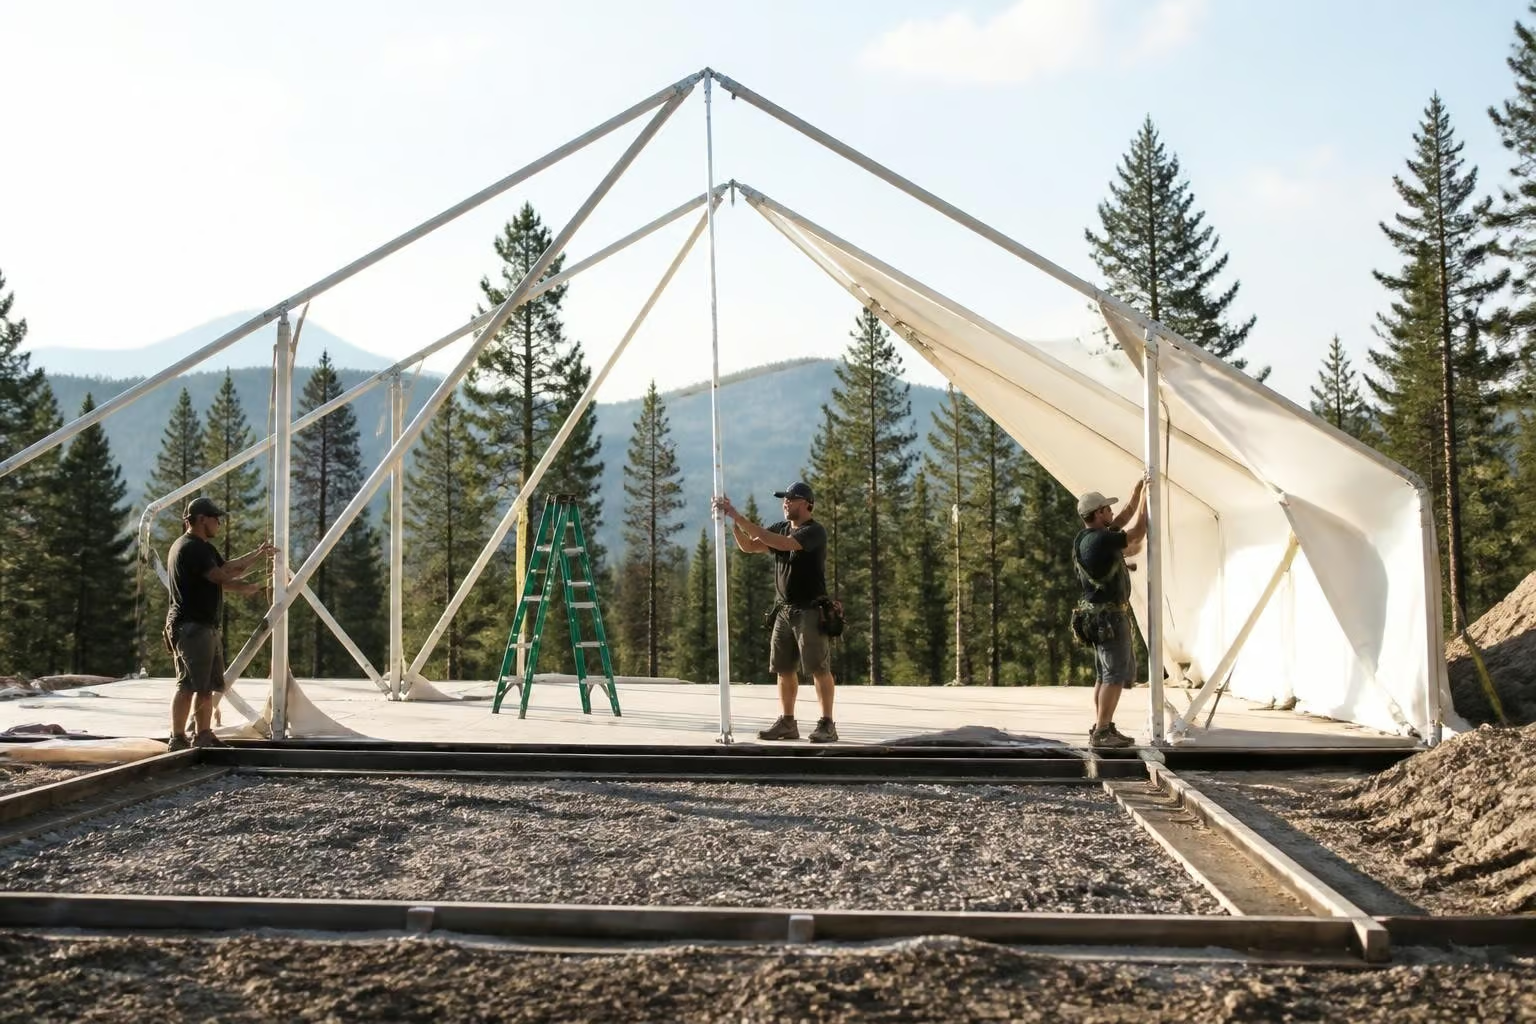
Working systematically prevents the need to disassemble sections to correct errors. When building larger structures, having additional people to stabilize sections during assembly is essential for safety and efficiency.
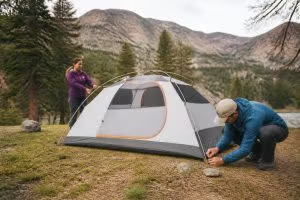
Connection methods vary by tent type. Recreational tents typically use shock-corded poles that slide through fabric sleeves or attach to clips. Commercial tent build projects more often employ bolted connections or pin-and-clip systems that create rigid joints capable of handling higher loads.
Once the frame stands securely, the fabric covering transforms the structure into functional shelter. Proper fabric attachment and tensioning are critical skills in any tent build project.
Begin by identifying the orientation of the fabric relative to the frame. Most tent fabrics have a designated front, back, and top. Waterproof fabrics often have specific surface orientations that must face outward for proper water shedding.
Drape the fabric over the frame starting from the highest point and working downward. For larger tents, this may require multiple people or temporary attachment points to prevent the fabric from sliding off during installation.
Proper tension accomplishes several important functions:
Start tensioning from the corners or highest stress points and work toward lower-stress areas. Most professional tent build processes use a star pattern, alternating between opposite sides to maintain balanced tension across the structure.
Adjustable strapping systems allow fine-tuning of tension after initial setup. Weather conditions cause fabric to expand and contract slightly, so checking and adjusting tension periodically extends material life and maintains performance.
Quality hardware makes tensioning easier and more reliable. Heavy Duty Tent Hooks & Metal Fasteners provide strong attachment points that won't deform under load, allowing you to achieve and maintain proper fabric tension throughout the tent's service life.

The anchoring system connects your tent build to the ground, resisting uplift from wind and lateral movement from other forces. Inadequate anchoring is the primary cause of tent failures during storms.
Anchor type selection depends on ground conditions, tent size, and expected wind loads. The MEBAA outdoor structure guidelines provide detailed calculations for determining appropriate anchor capacity based on these factors.
| Anchor Type | Best Soil Conditions | Holding Capacity | Installation Method |
|---|---|---|---|
| Steel stakes | Firm soil, grass | 100-300 kg | Hammer or mallet |
| Auger anchors | Soft to medium soil | 300-800 kg | Drill or manual twist |
| Concrete weights | Hard surfaces | Variable (by weight) | Position and secure |
| Screw anchors | Most soil types | 500-1500 kg | Power drill |
Stake angle significantly affects holding power. Driving stakes at 45-60 degrees away from the tent provides optimal resistance to the pulling forces created by wind on the fabric. Vertical stakes work poorly because they pull out easily under load.
Guy lines extend the stability system beyond the tent's footprint, creating a wider base that resists tipping and provides additional wind resistance. Proper guy line setup is essential for any serious tent build.
Position guy lines at 120-degree intervals around the tent for three-point structures, or at 90-degree intervals for four-sided tents. The guy lines should form angles between 30 and 45 degrees from horizontal for optimal mechanical advantage.
Adjustable tensioners on guy lines allow you to balance tension across all stabilization points. Reflective guy lines or markers prevent trip hazards, especially important for event venues or high-traffic camping areas. Understanding different kinds of tent designs helps you anticipate the specific anchoring requirements for each configuration.
Even the best tent build requires attention to weatherproofing details to ensure comfort and protect occupants and contents from the elements. Multiple systems work together to create weather resistance.
Seam sealing represents the first line of defense against water intrusion. Factory-sealed seams provide baseline protection, but field application of seam sealer at all stress points enhances water resistance. Focus particularly on peak seams and corner joints where water naturally flows.
Rain flies or secondary covers create an air gap that provides both additional waterproofing and thermal insulation. The gap allows condensation to form on the outer surface while keeping the inner tent dry. Proper tension on the rain fly prevents it from contacting the inner tent, which would conduct water through.
Condensation management is particularly important in canvas tent build projects. Canvas breathes naturally, but moisture can still accumulate in certain conditions.
Ground-level waterproofing prevents water from entering through the floor. Quality groundsheets extend slightly beyond the tent footprint but fold under at the edges to prevent water from pooling between the sheet and tent floor.
Fire safety is a critical yet often overlooked aspect of tent build planning. The CPSC tent flammability report provides comprehensive analysis of fire risks and testing protocols for recreational camping tents.
Modern tent fabrics vary significantly in their fire resistance. Some materials are inherently fire-resistant, while others receive chemical treatments to reduce flammability. Understanding the fire characteristics of your tent materials informs safe usage practices.
The ASTM F3431 standard establishes testing protocols and labeling requirements for tent flammability. When selecting materials for a custom tent build or purchasing pre-fabricated structures, checking compliance with this standard ensures baseline fire safety.
Creating clear zones around heat sources prevents most tent fire incidents:
Electrical safety matters equally in tent builds that include lighting or climate control. Use properly rated extension cords, protect connections from moisture, and ensure circuits have appropriate overcurrent protection.
Different seasons and weather conditions require adaptations to standard tent build procedures. South African outdoor enthusiasts encounter everything from scorching Karoo summers to wet Western Cape winters.
Summer tent builds prioritize ventilation and UV protection. Position tents to maximize shade during the hottest parts of the day. Use lighter-colored fabrics that reflect rather than absorb solar radiation. Ensure all ventilation panels can be fully opened while still maintaining insect protection.
Winter considerations focus on water management and wind resistance. Steeper roof pitches shed rain and prevent pooling. Additional guy lines and anchoring points resist stronger winter storms. When selecting camping accessories, consider items that enhance weather protection for your specific seasonal requirements.
Wind creates the most significant stress on tent structures. Professional tent build projects account for expected wind speeds using engineering calculations that size frames and anchoring appropriately.
The shape of the tent affects how wind flows around and over it. Aerodynamic profiles with curved surfaces or steep angles deflect wind more effectively than flat surfaces. However, complex curves require more sophisticated frame engineering and are typically found only in professional installations.
Storm preparation for existing tent builds includes:
A quality tent build deserves ongoing maintenance to ensure years of reliable service. Establishing regular inspection and care routines prevents small issues from becoming major problems.
Inspect fabric regularly for tears, abrasion, or UV damage. Small repairs made promptly prevent damage from spreading. Patch kits designed for your specific fabric type allow field repairs that restore weatherproofing and structural integrity.
Frame inspection focuses on connection points and high-stress areas:
Proper cleaning extends fabric life and maintains appearance. Different materials require different cleaning approaches. Canvas benefits from periodic brushing to remove dust and debris, while PVC fabrics tolerate pressure washing when heavily soiled.
Storage conditions significantly impact material longevity. Store tents clean and completely dry in cool, dark locations. Moisture during storage promotes mildew growth in natural fabrics and can cause coated fabrics to delaminate. Rodents and insects can damage stored tents, so sealed containers or elevated storage prevents unwanted visitors.
For those working extensively with outdoor fabric materials, understanding the care requirements for each type ensures your investment delivers maximum value over time.
While manufactured tents serve most needs, some applications require custom tent build solutions. Safari camps, unique event venues, and specialized outdoor operations often need tents designed for specific purposes.
Custom tent build projects begin with detailed planning that defines exact requirements:
Working with experienced manufacturers who understand both materials and structural engineering ensures custom builds meet performance expectations. Ejenti Outdoor specializes in custom outdoor solutions, offering expertise in everything from canvas tents to specialized event structures designed for South African conditions.
Custom tent build projects require careful material selection and sourcing. Quality varies significantly among suppliers, and choosing materials based solely on price often leads to disappointing results.
Key material specifications to verify include:
Frame materials require equal scrutiny. Verify that tubing or poles meet structural requirements with appropriate wall thickness and grade. Connection hardware should be manufactured from corrosion-resistant materials with load ratings that exceed calculated requirements by appropriate safety factors.
Advanced tent build projects often involve multi-room layouts or connected tent systems. These configurations provide enhanced functionality but require additional planning and assembly expertise.
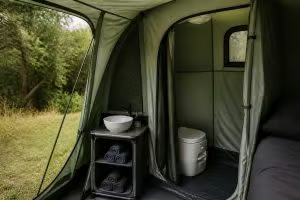
Room dividers and internal partitions create privacy and organize space efficiently. In safari or glamping applications, separate sleeping areas, living spaces, and storage zones enhance the guest experience significantly. Planning the door placement, window orientation, and internal traffic flow during the design phase prevents functional issues.
Connected tent systems using covered walkways or shared walls expand total capacity while maintaining manageable individual structure sizes. This approach offers flexibility for growing operations and allows staged construction as needs expand.
Vestibule spaces between the main tent body and entrances provide weather protection and mud rooms where wet gear can be stored without affecting interior comfort. Even simple tent build projects benefit from incorporating covered entry areas.
Successful tent build projects combine engineering principles, quality materials, and careful execution to create outdoor shelters that perform reliably across diverse conditions. Whether you're assembling a weekend camping setup or planning a complex safari camp installation, attention to structural fundamentals, proper anchoring, and weatherproofing details makes the difference between adequate shelter and exceptional outdoor accommodation. Ejenti Outdoor provides South African outdoor enthusiasts and commercial operators with durable tents, quality materials, and expert guidance to ensure your tent build project succeeds from initial planning through years of reliable service.